How to Make a Felt Cactus Monster: DIY Needle Felting Tutorial
What if your cactus had a face?
That’s the idea behind Woolbuddy’s Monster Plants — handmade felted cacti with personalities. Little clay pots, zero maintenance, and just enough character to make you smile every time you walk past your desk.
The Monster Plant collection started as a personal project by Jackie, Woolbuddy’s founder — a former Lucasfilm story artist who couldn’t resist giving everything a face. What started as one whimsical cactus has grown into a collection of over 20 unique designs, each handmade from 100% natural wool.
And now you can make your own. This tutorial walks you through the basics of felting a cactus monster from scratch — whether you want to follow a kit or freestyle your own design.
What You’ll Need
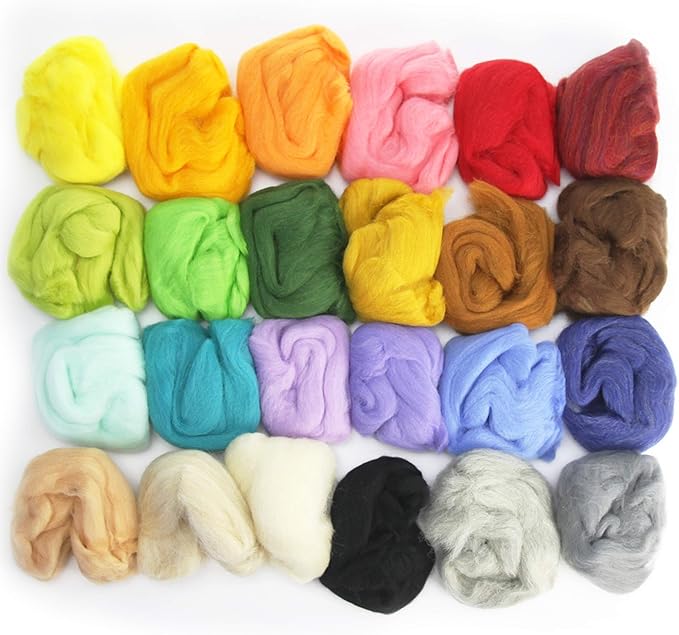
- Green wool roving (Corriedale works great — felts quickly and holds its shape)
- Small amounts of accent colors for spines, face, flowers, or details
- Felting needles (36 gauge for shaping, 40 gauge for details)
- Felting mat
- A small clay pot (optional but makes the finished piece look great)
- Finger guard (recommended if you’re new)
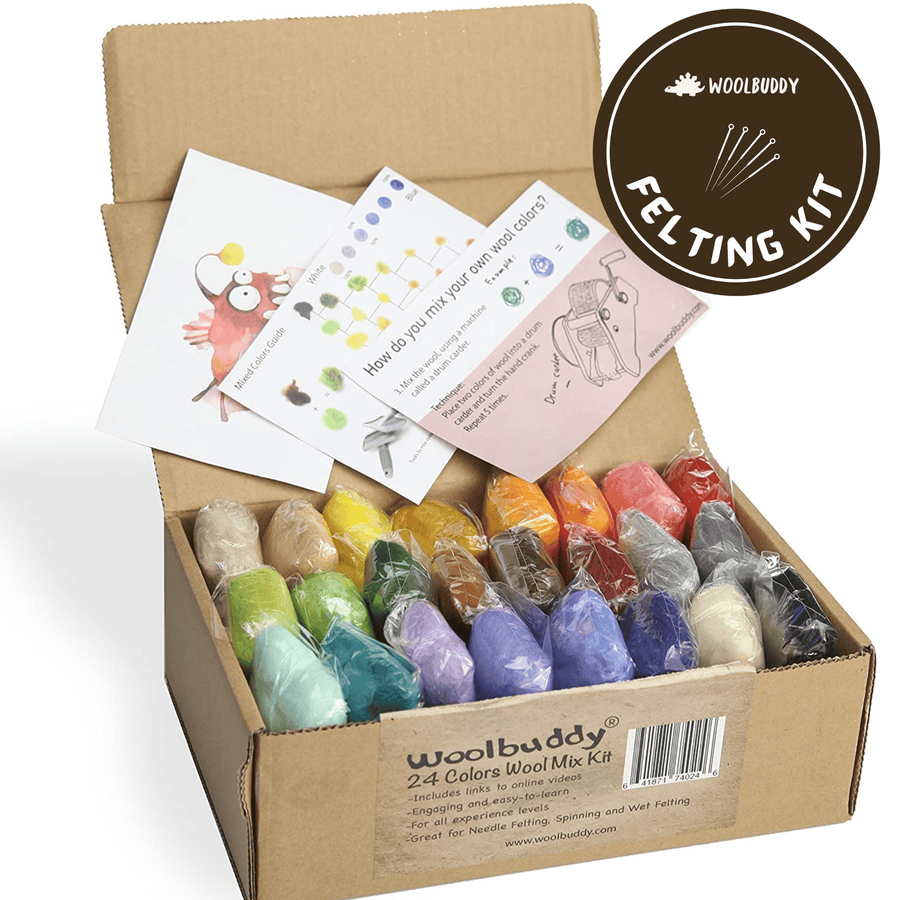
The Woolbuddy Cactus Kit includes all of this pre-sorted and ready to go — white and colored wool, 4 felting needles, a foam mat, 4 clay pots, and an instruction booklet. If you’d rather grab everything in one shot, that’s the easiest path.
How to Make Your Felt Cactus Monster
The basic cactus shape is one of the best beginner projects in needle felting — it’s forgiving, customizable, and finishes in 2–3 hours. Here’s how to do it step by step.
Step 1: Build the Main Body
Tear off a generous amount of green wool and roll it into a cylinder — like a stubby sausage shape. This is your cactus trunk. Hold it together and begin poking all over with your 36 gauge needle, keeping your pokes straight up and down. Rotate as you go so all sides felt evenly.
Keep poking until the shape holds together on its own and feels noticeably firmer. It won’t be perfectly smooth yet — that’s fine. You’re just building the core.
Step 2: Shape the Bottom
Flatten the base by pressing it down onto your mat and felting the bottom edge inward. You want a flat, stable base so your cactus sits upright in the pot without wobbling. Take your time on this — a wobbly cactus is a common first-timer frustration and easy to fix at this stage.
Step 3: Add Arms (Optional)
Classic cactus monsters have arms. To make one, roll a small sausage of green wool and felt it into a firm, curved shape separately. Then hold it against the side of the main body and poke the join firmly until the arm is attached and won’t pull away.
Two arms, one arm, no arms — your cactus, your call.
Step 4: Add the Face
This is where the monster part comes in. Using tiny wisps of black or dark wool and your fine (40 gauge) needle, poke in two small circles for eyes. Work slowly — small details need light, controlled pokes. Add a mouth if you like: a simple curved line, a toothy grin, a surprised O shape.
White wool makes great googly eyes. A tiny dot of a contrasting color makes a great pupil. Let yourself experiment here — the face is what gives your cactus its personality.
Step 5: Add Spines and Details
Traditional cactus spines can be suggested by adding tiny wisps of cream or white wool poked lightly onto the surface — just enough to create texture without overwhelming the shape. Some people skip this entirely and go with a smooth look. Both work.
Want flowers? A tiny ball of pink or yellow wool felted onto the top of the cactus makes a great bloom. Woolbuddy’s Yuka design does this beautifully — it’s one of the most popular in the collection.
Step 6: Pot It
Once you’re happy with the shape, press the base of your cactus firmly into a small clay pot. The wool will grip the inside of the pot naturally — no glue needed. If it feels loose, you can add a tiny bit of extra wool around the base and felt it in to bulk it up.
Step back. Say hello to your new cactus monster.
Tips for a Better Cactus
- Work in layers. Add thin wisps of wool at a time rather than large clumps. You’ll get a smoother, more even result.
- Don’t rush the face. The expression is everything. Spend extra time here — it’s what makes your monster feel like a character rather than just a shape.
- Make it yours. Add stripes, spots, extra eyes, horns, a little hat. There’s no wrong version of a cactus monster.
- Takes about 2–3 hours. A great afternoon project or something to work on across a few evenings.
Meet the Monster Plant Collection
If you’d rather skip straight to having one on your desk, Woolbuddy’s handmade Monster Plants are each individually crafted from 100% natural wool and come potted in their own clay pot. No maintenance required — no watering, no sunlight, just personality.
The collection includes over 20 designs — from Tom the classic cactus to Cyclopes the one-eyed wonder, Saguaro the towering desert giant, Yuka the bunny-eared beauty, and the Venus Flytrap for anyone who wants a little edge in their decor. Each one is unique.
Or grab the Cactus Kit and make your own:
https://woolbuddy.com/collections/felting-kit/products/needle-felting-cactus-monster-kit