How to Needle Felt for Beginners: Everything You Need to Get Started
You don't need to be an artist to make something beautiful with your hands. That's one of the things we love most about needle felting — it's a craft that meets you exactly where you are.
Whether you've never held a felting needle before or you're just curious what all the fuss is about, this guide walks you through everything: what needle felting is, what you'll need to get started, and how to make your very first project — step by step.
What Is Needle Felting?
Needle felting is the art of transforming loose wool into a solid, sculpted shape — using nothing but a barbed needle and repetitive poking. The tiny barbs on the needle catch the wool fibers and tangle them together. The more you poke, the denser and more defined your shape becomes.
No glue. No sewing. No heat. Just wool, a needle, and a little patience — and something surprisingly adorable starts to take shape.
It's a wonderfully tactile, meditative craft. Many people describe felting as calming — the rhythm of poking, shaping, and watching something come to life is a great way to slow down and make something with your hands.
What You'll Need
The supply list is short — that's part of what makes this craft so accessible:
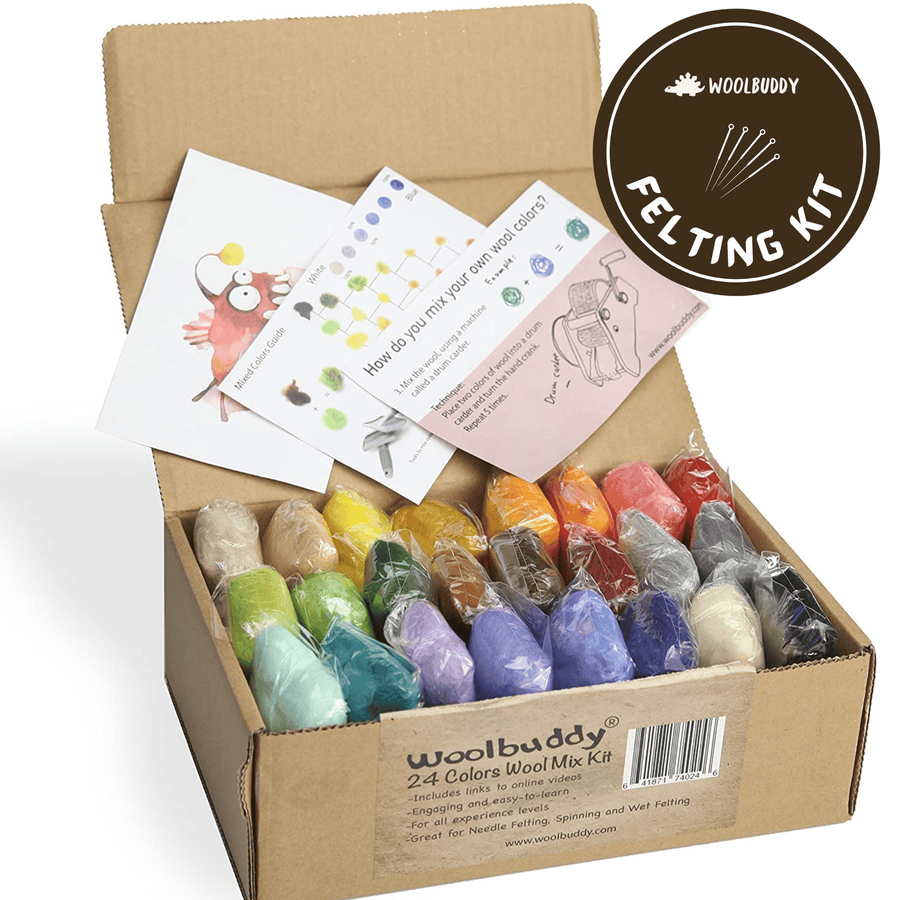
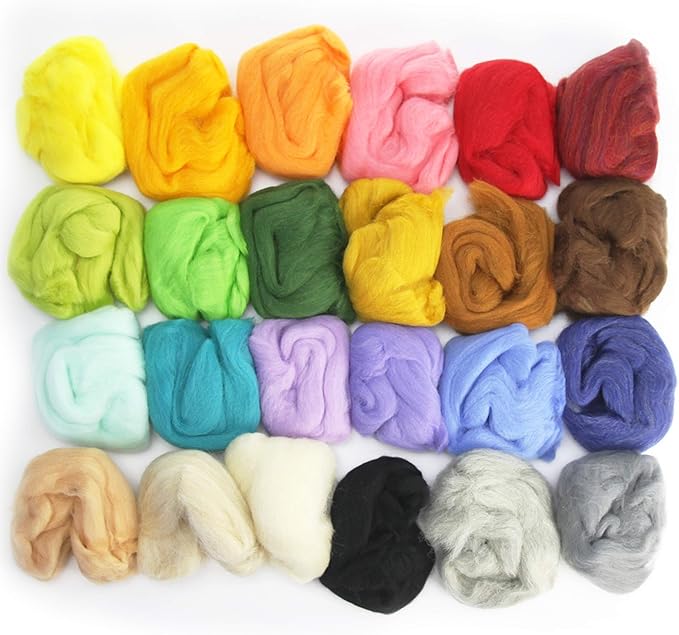
- Wool roving — This is your main material. Roving is combed, unspun wool that's soft, fluffy, and easy to work with. It comes in a wide range of colors. For beginners, any good-quality roving works — Merino and Corriedale are popular choices.
- Felting needles — These have tiny barbs along the shaft that do the felting work. Most starter kits include a range of gauges (sizes). A 36 gauge is great for shaping; finer needles (40–42 gauge) are for detail work.
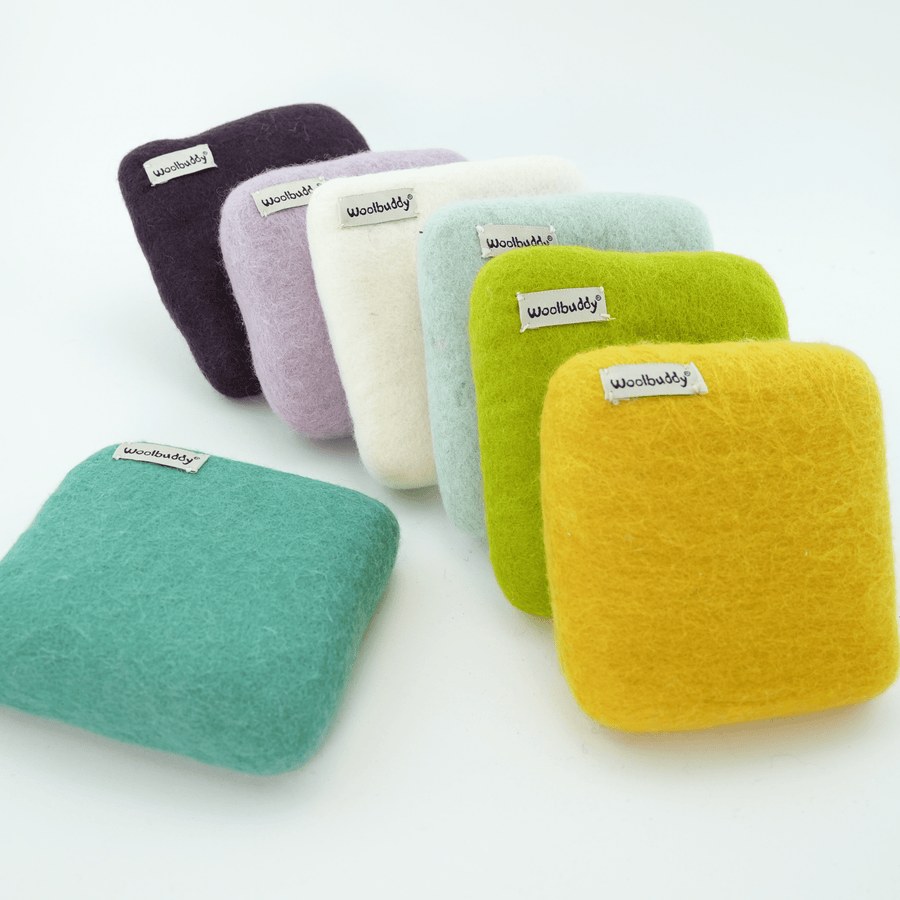
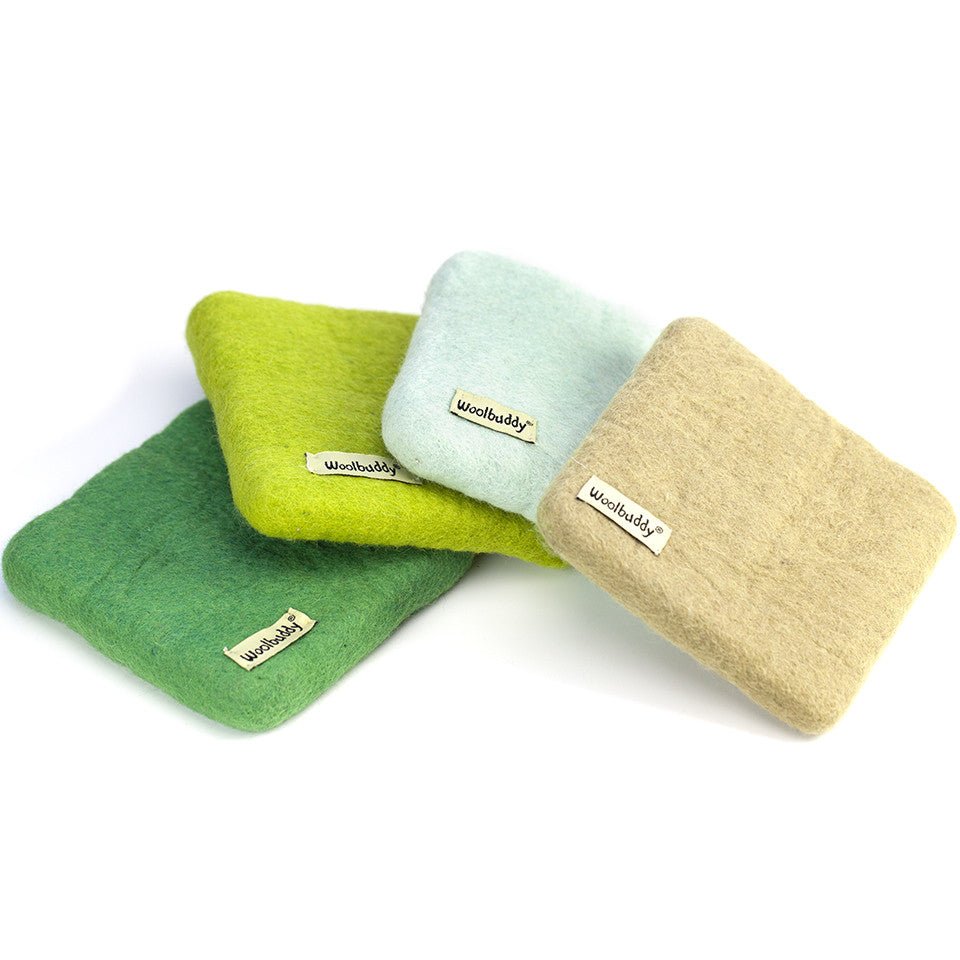
- A felting mat or foam pad — This protects your work surface and helps prevent broken needles. You'll poke into it repeatedly, so a firm foam pad is essential.
- Optional: finger guards or thimbles — Felting needles are sharp! A finger guard is great for beginners while you build your rhythm and awareness.
How to Needle Felt: Step by Step
Step 1 — Prepare Your Wool
Tear off the amount of wool you'll need for your project. Roving pulls apart easily — no scissors needed. Gently tease the fibers apart with your fingers to fluff them up a bit before you start shaping.
Step 2 — Shape Your Base Form
Roll or gather the wool into a rough version of the shape you're going for. Tuck in any loose ends as you go. Don't worry about it looking perfect yet — you're just building the core structure at this stage.
Step 3 — Start Felting
Place your wool on your foam mat and begin poking with your felting needle — straight in, straight out. Keep a steady rhythm and rotate your project often so it felts evenly on all sides. You'll feel it getting firmer and denser as you go.
Important: Always poke straight up and down — angling the needle sideways or twisting it while it's in the wool is the most common cause of broken needles.
Step 4 — Build Up and Add Color
Once your base shape feels solid, start adding details. Lay thin wisps of colored wool onto the surface and felt them in with your needle. Layer colors gradually — you can always add more, but you can't easily take it away.
Step 5 — Refine and Finish
Switch to a finer needle (40–42 gauge) for the finishing stage. Use it to smooth the surface, blend edges, and add any tiny details like facial features or texture. Take your time here — this is what brings the whole piece to life.
A Few Tips for Your First Project
- Start simple. A small round animal — like a sheep, bear, or bird — is perfect for a first project. Basic shapes are easier to control while you're learning the feel of the craft.
- Poke straight, not at an angle. This is the most important technique habit to build early. Angled poking is how needles snap.
- Rotate your project often. Turn it in your hand every few pokes so you're felting evenly all the way around.
- It takes time — and that's the point. Needle felting isn't a quick craft. Part of the joy is in the slow, satisfying process of shaping something by hand.
- Don't worry about perfection. Handmade things have character. Your first project will be uniquely yours — and probably more charming than you expect.
Safety Reminders
Felting needles are sharp — treat them with respect:
- Keep your eyes on your hands while felting.
- Use a finger guard if you're new to the craft.
- Store needles in a closed container — never loose in a bag.
- Best for ages 8 and up with adult supervision.
Ready to Try It?
The best way to learn needle felting is to just dive in. And the easiest way to do that is with a kit that has everything ready to go.
Woolbuddy beginner kits come with pre-measured wool in all the colors you need, felting needles, a foam mat, and illustrated step-by-step instructions — plus a video tutorial for each design. You'll have your first woolly creation done in a single afternoon.
Browse Woolbuddy beginner kits and start making something today →