6 Processes for Harm-Free Wool Transformation
Roving wool is a popular material for spinning, felting, and other fiber arts. But have you ever wondered how roving wool is made from the farm? Here's a breakdown of the process, including why there's a need to shear the sheep, and that this whole process does not harm the animal.
Step 1: Shearing
The first step in making roving wool is shearing the sheep. Shearing is the process of removing the wool from the sheep's body using electric clippers or traditional hand shears. The wool is removed in one piece, called a fleece, which is then rolled up and stored until it is ready to be processed.
Why do we need to shear sheep? Sheep grow wool all year round, and if they are not shorn, the wool can become too heavy and can cause health problems for the sheep, such as overheating and skin irritation. Shearing the sheep also helps to keep the sheep clean and healthy, and it promotes the growth of new, healthy wool.

Step 2: Skirting
Once the fleece has been removed from the sheep, it is time to skirt it. Skirting involves removing any unwanted or unusable portions of the fleece, such as matted or dirty wool, before washing it. This is an important step because it helps to ensure that the wool is of high quality and suitable for processing.
Step 3: Washing
After skirting, the fleece is washed to remove any dirt, grease, or other impurities. This is usually done in a large tub or sink filled with warm water and a gentle wool wash. The fleece is soaked in the water, gently agitated, and then rinsed until the water runs clear.
Step 4: Drying
Once the fleece has been washed, it is laid out to dry. This can be done by spreading the fleece out on a drying rack or laying it on a clean, flat surface. The fleece is left to air dry until it is completely dry.

Step 5: Carding
After the fleece has been washed and dried, it is time to card it. Carding is the process of brushing the wool fibers to separate them and align them in the same direction. This can be done using hand carders or a drum carder. The wool is fed through the carder, which brushes it and separates the fibers, creating a fluffy, airy material called roving.


Step 6: Roving
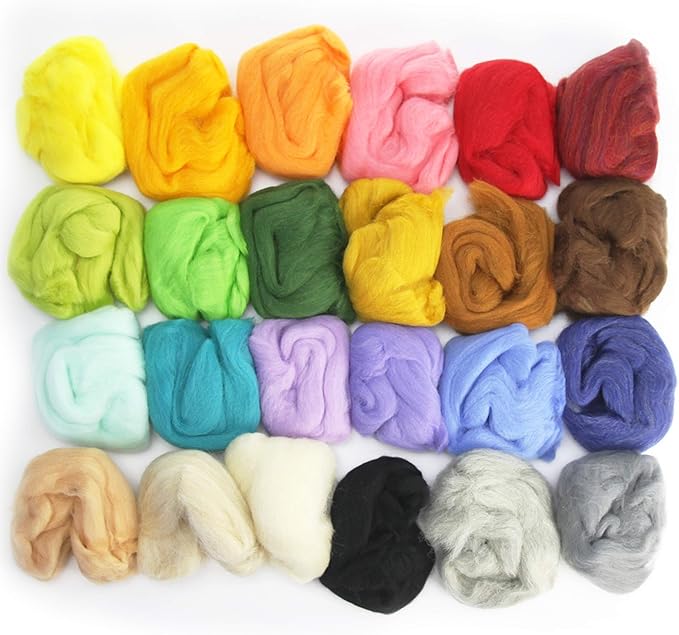
The final step in making roving wool is to wind the carded wool onto a spindle or bobbin. This creates a long, continuous rope-like strand that can be used for spinning, felting, or other fiber arts. The roving is then ready to be spun into yarn or used for other fiber art projects.

It's important to note that this whole process does not harm the sheep. In fact, shearing the sheep is a necessary part of their care and helps to promote their health and well-being. Shearers are trained professionals who know how to handle sheep safely and humanely, and they take great care to ensure that the sheep are not injured during the shearing process.
In conclusion, the process of making roving wool from the farm involves several steps, from shearing the sheep to carding and winding the wool into a long, continuous strand. Each step is important in producing high-quality roving that can be used for a variety of fiber art projects, and it is all done without harming the sheep. So, the next time you work with roving wool, you can feel good knowing that it was made with care and respect for the animals that produced it.
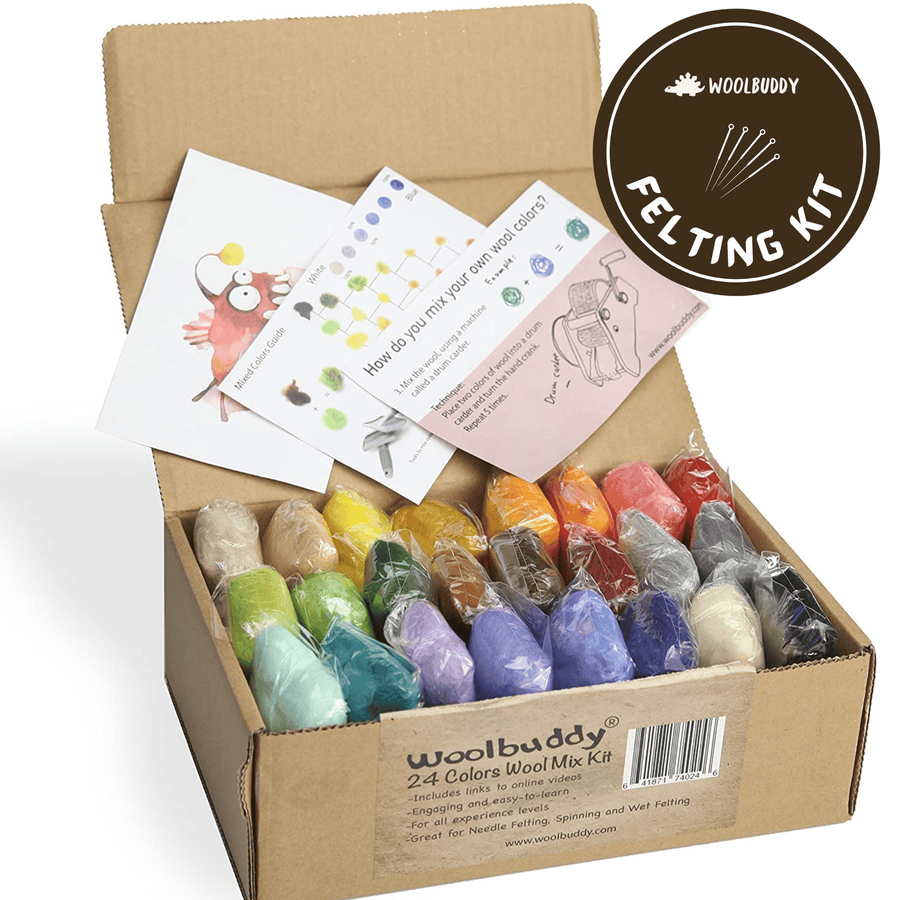
Looking to get started with different wool projects? Look no further than our YouTube video, where we'll show you how to mix and create beautiful wool colors using carders. This fun and informative tutorial will have you creating your own high-quality roving wool in no time, perfect for all your fiber arts projects. Don't miss out on the fun - subscribe to our channel and start creating!
Join us this Star Wars month as we show you how to bring R2D2 to life through the art of needle felting. May the felt be with you!