Felting Needles Explained: Sizes, Types, and How to Choose the Right One
Felting Needles Explained: Sizes, Types, and How to Choose the Right One
Pick up a felting needle for the first time and it looks simple enough — a thin metal shaft with a handle. But spend a little time with needle felting and you start to realize: not all needles are the same, and the one you’re using actually matters.
Use the wrong gauge and your wool will felt too slowly, or you’ll oversaturate a small detail before you realize it. Use the right one and the work flows — firm body shapes build fast, fine details land crisp, and you finish a project feeling like you actually know what you’re doing.
This guide breaks it all down: how felting needles work, what the different sizes mean, which types do what, and how to take care of them so they last.
How a Felting Needle Works
A felting needle isn’t smooth like a sewing needle. Run your finger carefully along the shaft and you’ll feel tiny notches — those are barbs. When you poke the needle into wool, the barbs grab individual fibers and push them deeper into the mass. Each poke tangles a few more fibers together. Do this thousands of times across a project and the loose fluffy roving becomes a dense, firm, sculpted shape.
That’s all needle felting is: controlled, repeated poking. The needle does the work. Your job is to aim it well and stay consistent.
Needle Gauge: What the Numbers Mean
Gauge is the thickness of the needle — and here’s the counterintuitive part: a higher gauge number means a thinner needle. So a 40 gauge is finer than a 36 gauge.
Here’s a quick reference for the most common gauges:
36 Gauge — The Workhorse
Thick, sturdy, and fast-felting. The 36 gauge is your go-to for building the main body of a project — rolling wool into a ball, compressing a large shape, or quickly locking fibers together in the early stages. It’s coarser, so it leaves more visible texture on the surface, but it gets the job done fast.
Best for: Core building, initial shaping, large surface areas.
38 Gauge — The All-Rounder
A great middle-ground needle. Not as aggressive as the 36, not as delicate as the 40. Many felters find themselves reaching for this one most often once they’ve built their base shape and are working toward a finished piece.
Best for: General shaping, medium-sized details, and smoothing the surface.
40–42 Gauge — The Detail Needle
Fine and precise. Use this when you’re adding small features: eyes, nostrils, tiny ears, color patches, surface texture. It’s slower because it moves fewer fibers per poke, but it gives you control that a coarser needle simply can’t.
Best for: Detail work, surface finishing, small color additions, facial features.
Needle Types: Shape Matters Too
Beyond gauge, felting needles also come in different cross-sectional shapes. Each cuts through wool a little differently.
Triangular
Three sides, three sets of barbs. The standard needle type — what comes in most kits and what most people learn on. Reliable for all-around use.
Star
Four sides with more barbs overall. Felts faster than a triangular needle because it catches more fibers per poke. Good for when you want to build bulk quickly.
Spiral / Twisted
A twisted shaft that rotates slightly as it enters the wool. Creates a smoother, more polished surface than a straight needle. Great for finishing the exterior of a piece.
Reverse
Works opposite to a standard needle — instead of pushing fibers in, it pulls them outward. Use this to create a fluffy, fuzzy texture on the surface of a piece. Not as common, but useful for animal fur effects.
Which Needles Should a Beginner Start With?
Keep it simple. If you’re just starting out, you don’t need a full collection.
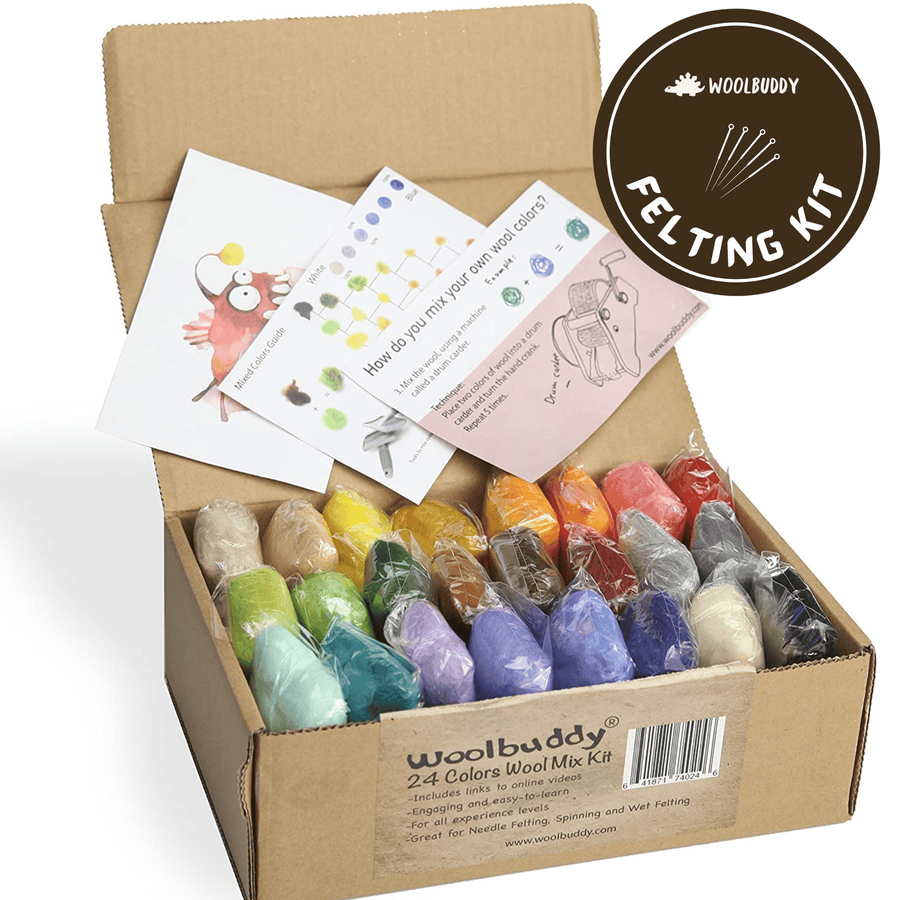
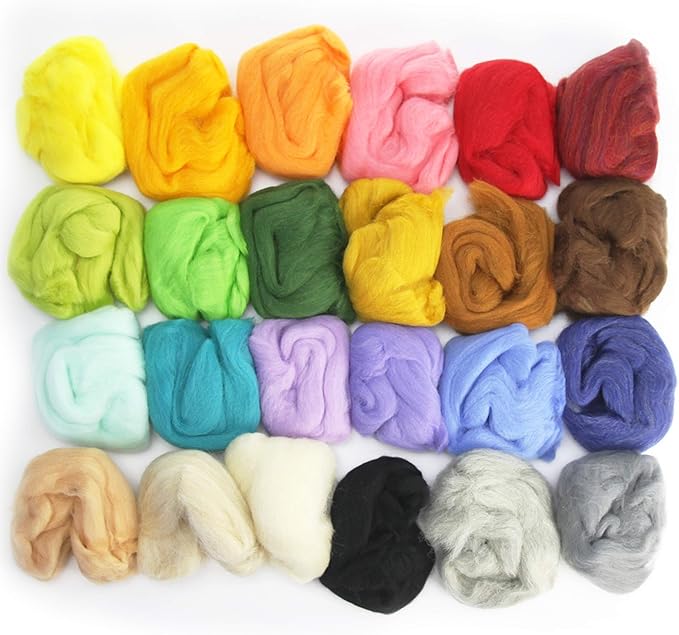
A 36 gauge and a 40 gauge cover almost everything you’ll do in a beginner kit — one for building the body, one for adding details. Most Woolbuddy kits include exactly this range so you can start right away without having to figure out what to buy.
As you do more projects and develop a feel for the craft, you’ll start to notice when you want a needle that’s slightly coarser or finer. That’s when it makes sense to experiment with more types.
How to Keep Your Needles from Breaking
Broken needles are the most common frustration for new felters — and almost always avoidable. Here’s what causes it and how to prevent it:
- Always poke straight in, straight out. The needle is designed to enter and exit at the same angle. The moment you angle it sideways while it’s inside the wool — or wiggle it to free it if it gets stuck — it snaps. Straight up and down, every time.
- Don’t rush. Fast, jabbing motions increase the chance of a bad angle. A steady, rhythmic poke is faster in practice because you break fewer needles.
- Always felt on a mat. If your needle hits a hard surface at the bottom of a poke, it’s going to snap. The mat absorbs that impact. Never felt on a bare table.
- Rotate your project. If the wool starts to felt itself into the mat, it becomes hard to lift — and pulling it off while the needle is partway through is a recipe for a break. Rotate often to keep it loose.
- Keep spare needles nearby. They’re inexpensive and even experienced felters break them occasionally. Don’t let one broken needle stop a session.
Storing Your Needles Safely
Felting needles are thin, sharp, and easy to lose — especially the fine ones. A few simple habits keep them safe and keep you safe:
- Store them in a small container with a lid — a little tin, a capped tube, or the case that came with your kit.
- Never leave them loose on your work surface where they can roll off.
- Keep them out of reach of children and pets — the tips are sharp enough to cause a real poke.
- If you use a needle holder (a handle that clamps a needle in place), cap it when you set it down.
Get the Right Needles for Your Next Project
Every Woolbuddy kit comes with a selection of needles matched to the project inside, so you don’t have to guess which gauge to use. If you’re building your own supply kit or looking for extras, we carry individual needles and sets in the Woolbuddy shop.
And if you’re just getting started and want to try the craft before investing in individual supplies, our beginner kits are the easiest way in — everything included, no guesswork.
Frequently Asked Questions (FAQs):
Q1. Can I reuse felting needles?
Yes, felting needles can be reused until they become dull or broken. However, it's recommended to replace them when they show signs of wear and tear to ensure consistent and effective felting results.
Q2. How do I store felting needles?
To protect your felting needles from damage and prevent accidental pricks, it is best to store them in a container or needle case. This will keep them organized and easily accessible whenever you're ready to embark on a new felting project.
Q3. Are felting needles suitable for beginners?
Absolutely! Felting needles are beginner-friendly and offer endless possibilities for creativity. If you're new to needle felting, start with simple projects and gradually explore more advanced techniques. As you gain experience and confidence, you'll be amazed at the incredible creations you can bring to life with felting needles.
Check out our collection of high-quality tools from single-point needles to felting mats and more, we have everything you need to bring your needle felting projects to life. https://woolbuddy.com/collections/supplies
Happy felting!