Painting with Wool: A New Way to Create Art
 Looking for a new creative outlet that’s calming, colorful, and completely unique? Painting with wool—also known as wool painting or needle felt painting—might just be your next favorite craft. This fiber art form uses wool fibers instead of paint and a felting needle instead of a brush, letting you "paint" vibrant images on fabric or felt.
Whether you're a beginner or a seasoned fiber artist, this technique is relaxing, rewarding, and full of possibilities.
What is Wool Painting?
Wool painting is the process of using colored wool roving to create images, much like traditional painting. The wool is applied in thin layers and gently needled into a background fabric (usually felt or wool fabric). Think of it as “painting” with texture!
You can create landscapes, animals, portraits, abstracts, or even 3D mixed-media artwork. The tactile quality of wool brings warmth and depth that’s hard to match with traditional paint.
What You'll Need
Here are the basic tools and materials:
-
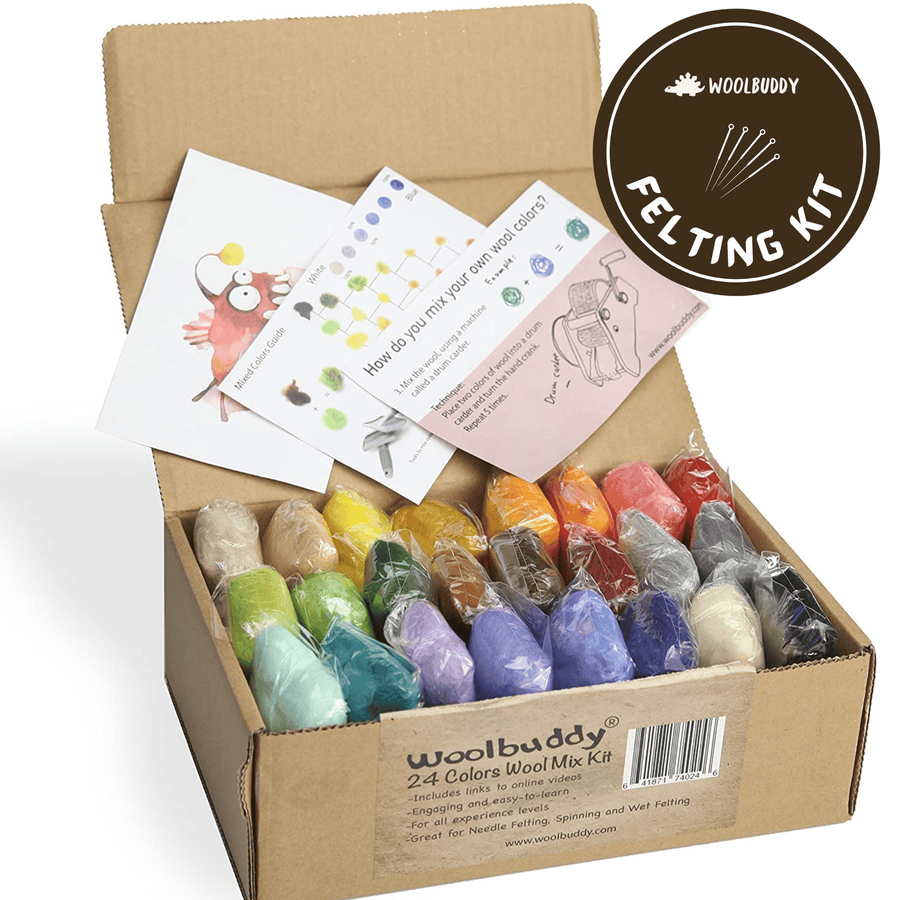
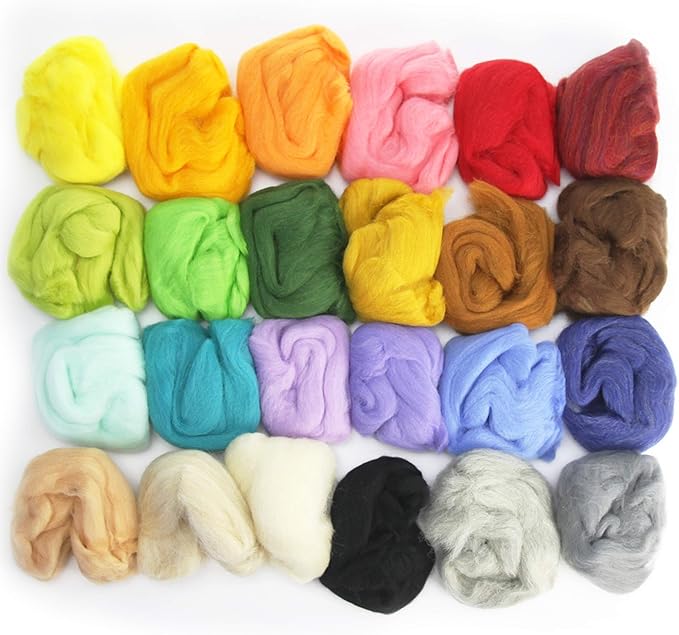
Wool roving in various colors
-
Felting needles (usually fine or medium gauge)
-
Felting mat or foam block
-
Wool felt or pre-felt fabric as your canvas
-
Embroidery hoop to keep the fabric taut.
How to Paint with Wool: Step-by-Step
-
Choose your kit from Woolbuddy's Painting with Wool options.
-
Layer your wool.
Tear off small wisps of wool in your chosen colors. Lay them down to build shapes, backgrounds, and details. Think in layers—start with background elements and move forward. -
Needle felt gently.
Use the felting needle to poke through the wool and attach it to the fabric. Be careful and go slowly—the barbed needle tangles the fibers into the background. The more you poke, the more secure it becomes. -
Blend colors.
Mix and layer different shades of wool to create depth, shadows, and highlights—just like real painting! -
Add details.
Use finer wool and slower needling for crisp edges and detailed features like eyes, leaves, or patterns. -
Finish your piece.
Once your image is complete, go over the entire surface with your needle to smooth out uneven areas and ensure everything is firmly felted.
Benefits of Wool Painting
-
Mindful and relaxing. Like knitting or adult coloring books, this craft can ease stress and boost focus.
-
Eco-friendly. Wool is a natural, biodegradable material.
-
No mess. No paint spills or cleanup—just you and soft, fluffy fiber!
-
Portable. You can bring a small wool painting kit anywhere.
-
Great for all ages. Kids and adults alike can enjoy this creative outlet.
How to Use Finished Wool Paintings
Your completed wool painting can be:
-
Framed as wall art
-
Gifted to loved ones as a one-of-a-kind handmade present
You can also build onto it with embroidery, beads, or mixed media elements for even more texture.
Try It Today with Woolbuddy Kits!
Woolbuddy offers everything you need to start painting with wool with high-quality wool, easy-to-follow instructions, and creative support.