Your Complete Guide to Felting Needles (And Why the Right One Changes Everything)
If you've ever stabbed at your wool project for 20 minutes and felt like nothing was happening — or snapped a needle in half and had no idea why — this post is for you.
Felting needles are tiny, but they do all the work. And most beginners never give them a second thought — they just use whatever came in the kit and hope for the best. The truth is, once you understand how needles actually work, everything about needle felting starts to click. Your projects get denser, your details get sharper, and you stop breaking needles.
Here's everything you need to know.
How Felting Needles Actually Work
A felting needle isn't like a sewing needle. It's not hollow, it doesn't thread — it has tiny barbs along its shaft, almost like microscopic fish hooks. When you poke the needle into wool, those barbs grab individual wool fibers and tangle them together. Do that hundreds of times, and loose fluffy wool transforms into a dense, solid, sculptable shape.
That's it. No glue, no sewing, no heat. Just repetitive poking — which, for the record, is deeply satisfying.
The key variables are: how many barbs the needle has, how deep the barbs are set, what shape the needle is, and how thick the needle shaft is. All of these affect how fast you felt, how smooth your surface gets, and what level of detail you can achieve.
Needle Gauges: What the Numbers Mean
Needle gauges can be confusing at first — the higher the number, the finer (thinner) the needle. Here's a simple breakdown:
36 Gauge — The Workhorse
This is the most common gauge you'll find in starter kits, and for good reason. A 36 gauge needle is thick enough to move a lot of wool quickly, making it great for building up the core shape of your project. If you're working on a round body, filling out a large area, or just getting started — this is your needle.
38 Gauge — The Everyday Middle Ground
Slightly finer than the 36, this gauge works well for most stages of a project. It felts efficiently without being too aggressive, which makes it a solid all-rounder. Many felters reach for a 38 almost automatically once they move past the initial shaping phase.
40–42 Gauge — The Detail Needle
These fine needles are for the finishing stage — adding small eyes, blending color transitions, smoothing a lumpy surface, or pressing in a tiny nose. They don't move much wool, but they give you precision. These are also more fragile, so go slow and straight when using them.
Needle Shapes: Triangular, Star, and Spiral
Beyond gauge, needles also come in different blade shapes — and each one does something slightly different.
- Triangular needles — The classic shape. Three flat sides, barbs on each edge. Good all-around choice for most projects. This is what's in most beginner kits.
- Star needles — Four sides instead of three, which means more barbs and faster felting. Great when you want to bulk up a large area quickly. They can leave a slightly rougher surface, so switch to a triangular or spiral needle to smooth things out.
- Spiral (twisted) needles — The barbs run in a spiral pattern around the needle shaft. These are prized for creating a smooth, almost seamless surface — ideal for the final polish on animal faces, ornaments, or anywhere you want a clean finish.
Why Do Needles Break — And How to Stop It
Broken needles are frustrating, and they almost always come down to technique rather than a defective needle. Here's what causes it:
- Poking at an angle. The needle goes in at one angle and comes out at another. The tiny bend stress snaps the shaft. Always poke straight in and straight out — perpendicular to your work surface.
- Twisting or wiggling. Once the needle is in the wool, it should come out the same way it went in. Any sideways motion = broken needle.
- Poking too deep. If the needle goes all the way through your project into the mat and then gets caught, you're putting stress on the needle from below. Poke deep enough to felt the wool, not so deep that you're drilling into your foam.
- Using a fine needle on dense wool. Fine 40–42 gauge needles are delicate. If you're working on a thick, already-felted area, switch back to your coarser needle first. Fine needles are for the top layer only.
A Simple Needle Strategy for Your Projects
Most projects go through three phases — and ideally, your needle changes with them:
- Phase 1 — Shaping: Use your 36 gauge triangular needle. Poke repeatedly and rotate your project often so it felts evenly. This is where you build the core form.
- Phase 2 — Refining: Switch to a 38 gauge to tighten up the surface and work in color layers. The project starts looking more finished at this stage.
- Phase 3 — Finishing: Pick up your 40–42 gauge or spiral needle. Blend edges, smooth the surface, add tiny details. Take your time here — this is what makes the difference between "cute" and "wow."
Safety: A Quick Reminder
Felting needles are sharp — genuinely sharp. Here are a few habits that keep felting fun and injury-free:
- Keep your eyes on your hands while felting. It's easy to zone out (that's part of the joy!), but stay aware of where your fingers are.
- Use a finger guard or thimble if you're new to it. Many experienced felters go without, but it's a great habit while you're learning rhythm and spacing.
- Store needles in a container with a lid — never loose in a bag or box where you'll reach in without looking.
- Needle felting is best for ages 8+ with adult supervision. The needles used in Woolbuddy kits are designed for crafting — not suitable for very young children.
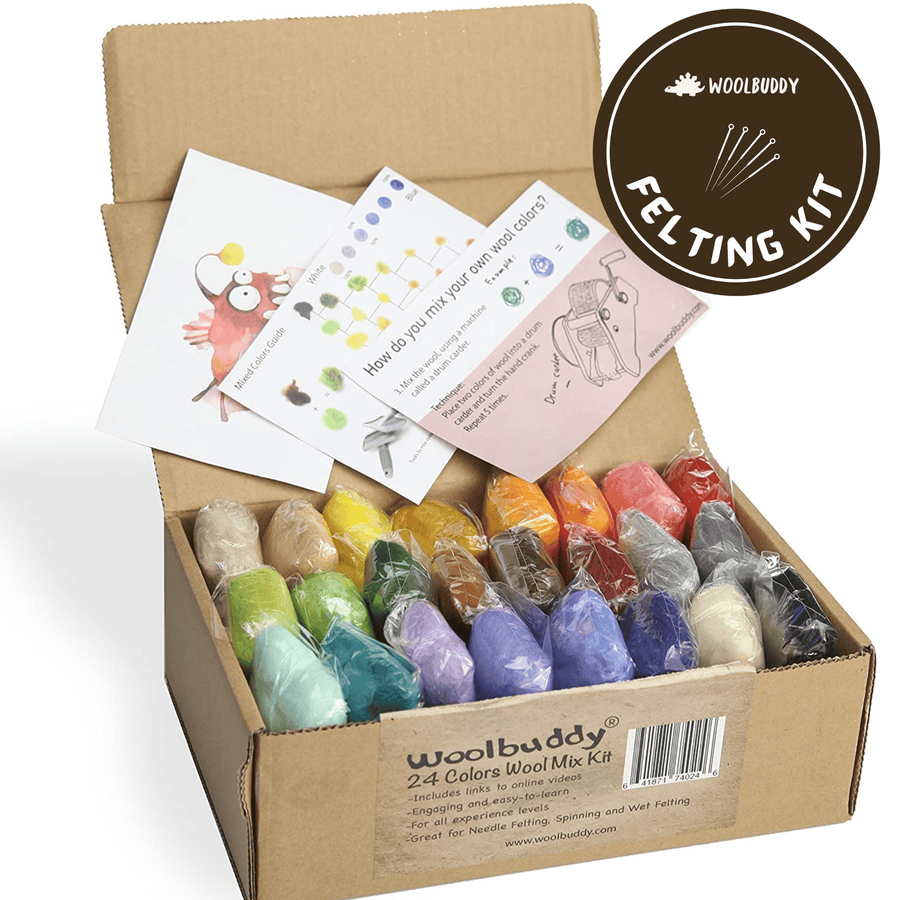
What Needles Come in Woolbuddy Kits?
Every Woolbuddy needle felting kit comes with everything you need to complete your project — including the right needle(s) for that specific design. We select needle types and gauges based on what the project requires, so you're not guessing.
If you want to go deeper into the craft, our Felting Tools & Supplies section carries individual needles in multiple gauges so you can build your own collection as your skills grow.
The Takeaway
You don't need to memorize every needle type before you start. But understanding the basics — coarse for shaping, fine for detail, always poke straight — will make your very next project noticeably better.
The needle is doing the work. Your job is just to poke it in the right place, at the right time, with a little patience.
Ready to felt? Browse our kits →