Crafting Joy: Easy DIY Felt Ornaments to Brighten Your Holidays

The holiday season is the perfect time to bring out your creative side and craft something truly personal for your home or loved ones. DIY felt ornaments are an excellent way to add charm and warmth to your holiday decorations. Felt is a versatile and forgiving material, making it ideal for crafters of all skill levels.
Whether you're crafting alone or hosting a holiday crafting party with friends and family, these DIY felt ornaments are guaranteed to bring joy to your festivities.
Gathering Your Materials for DIY Felt Ornaments
Before diving into your crafting project, it's essential to have all the necessary materials at hand. The right supplies can make your DIY felt ornament project smooth, enjoyable, and rewarding.
Choosing the Right Felt and Colors
Felt comes in various types, textures, and colors. Here are a few tips for choosing the perfect felt for your ornaments:
- Material: Opt for wool or wool-blend felt for a high-quality, durable finish. Synthetic felt is more affordable but may lack the softness and sturdiness of wool.
- Colors: For traditional holiday vibes, select festive colors like red, green, white, and gold. For a modern twist, experiment with pastel shades or metallic tones.
- Thickness: Medium-weight felt (about 1-2 mm thick) is ideal for most ornaments as it's easy to cut and stitch while maintaining its shape.
Other Materials You'll Need
Here's a list of basic supplies to get started:
- Scissors (sharp enough for precise cuts)
- Embroidery floss or thread in coordinating colors
- Needles (embroidery or regular sewing needles)
- Pins to hold fabric in place
- Stuffing material (polyester fiberfill or wool roving)
- Decorative elements (buttons, beads, sequins, ribbons)
- Templates for ornament shapes (you can draw your own or print them online)
- Fabric glue or a hot glue gun (optional)
Step-by-Step Instructions for Crafting Your Ornaments
Now that you've gathered your materials, it's time to dive into the crafting process. Follow these step-by-step instructions to create beautiful DIY felt ornaments.
Basic Sewing Techniques for Beginners
If you're new to sewing, don't worry! These beginner-friendly techniques will have you stitching like a pro in no time:
- Running Stitch: Use this simple stitch for seams or decorative edges. Push the needle up through the fabric, then back down in a straight line, creating even, dashed stitches.
- Blanket Stitch: This stitch is ideal for finishing the edges of your felt ornaments. Push the needle through both pieces of felt, loop the thread around the edge, and pull tight.
- Whip Stitch: This stitch is similar to the blanket stitch but with a cleaner, less decorative finish. It is perfect for sewing edges together.
If sewing isn't your forte, fabric glue can be a handy alternative for attaching felt pieces.
Crafting Ornament Shapes
Here are three easy-to-make DIY felt ornaments:
Classic Christmas Tree
- Cut Shapes: Trace and cut two identical tree shapes from green felt.
- Decorate: Sew on buttons, beads, or mini pom-poms as "ornaments" for the tree.
- Assemble: Place the two tree pieces together, sew around the edges using a blanket stitch, and leave a small opening.
- Stuff: Fill the tree with fiberfill and close the opening.
Festive Star
- Cut Shapes: Trace and cut two star shapes from yellow or gold felt.
- Embroider: Add patterns or designs using metallic thread.
- Assemble and Stuff: Sew the edges, stuff lightly, and finish with a loop of ribbon for hanging.
Snowman
- Create Sections: Cut three white felt circles (small, medium, large) for the snowman's body.
- Add Features: Sew on beads for eyes and buttons and stitch a small orange triangle for the nose.
- Assemble: Attach the circles together with stitches or glue and add a felt scarf and hat for extra charm.
Creative Ideas to Personalize Your Felt Ornaments
Once you've mastered the basics, it's time to make your felt ornaments uniquely yours. Customization adds a special touch and makes your creations stand out.
Embellishing Your Ornaments with Unique Touches
Here are some ways to take your ornaments to the next level:
- Hand Embroidery: Use embroidery floss to stitch names, dates, or intricate patterns onto your ornaments.
- Beads and Sequins: Add sparkle by sewing beads or sequins onto your designs.
- Layering Felt: Create a 3D effect by layering different shapes and colors of felt.
- Ribbon and Lace: Attach ribbon loops for hanging and use lace trim for an elegant touch.
- Paint or Glitter: Fabric paint and glitter glue can add eye-catching details to your ornaments.
Tips for Group Crafting Sessions
Crafting felt ornaments is an activity that brings people together. Here's how to make it a fun and organized experience:
- Prepare Kits: Assemble pre-cut felt pieces, thread, and decorations for each participant.
- Choose a Theme: Decide on a theme (e.g., winter wonderland, rustic Christmas) to inspire creativity.
- Offer Guidance: Provide templates and basic instructions for beginners.
- Share Ideas: Encourage participants to share their ornament designs and techniques.
Explore the Joy of Crafting with Woolbuddy
Crafting DIY felt ornaments is not only a delightful way to personalize your holiday décor but also a heartwarming activity to share with loved ones. From festive trees to charming snowmen, the possibilities are endless when you let your creativity shine.
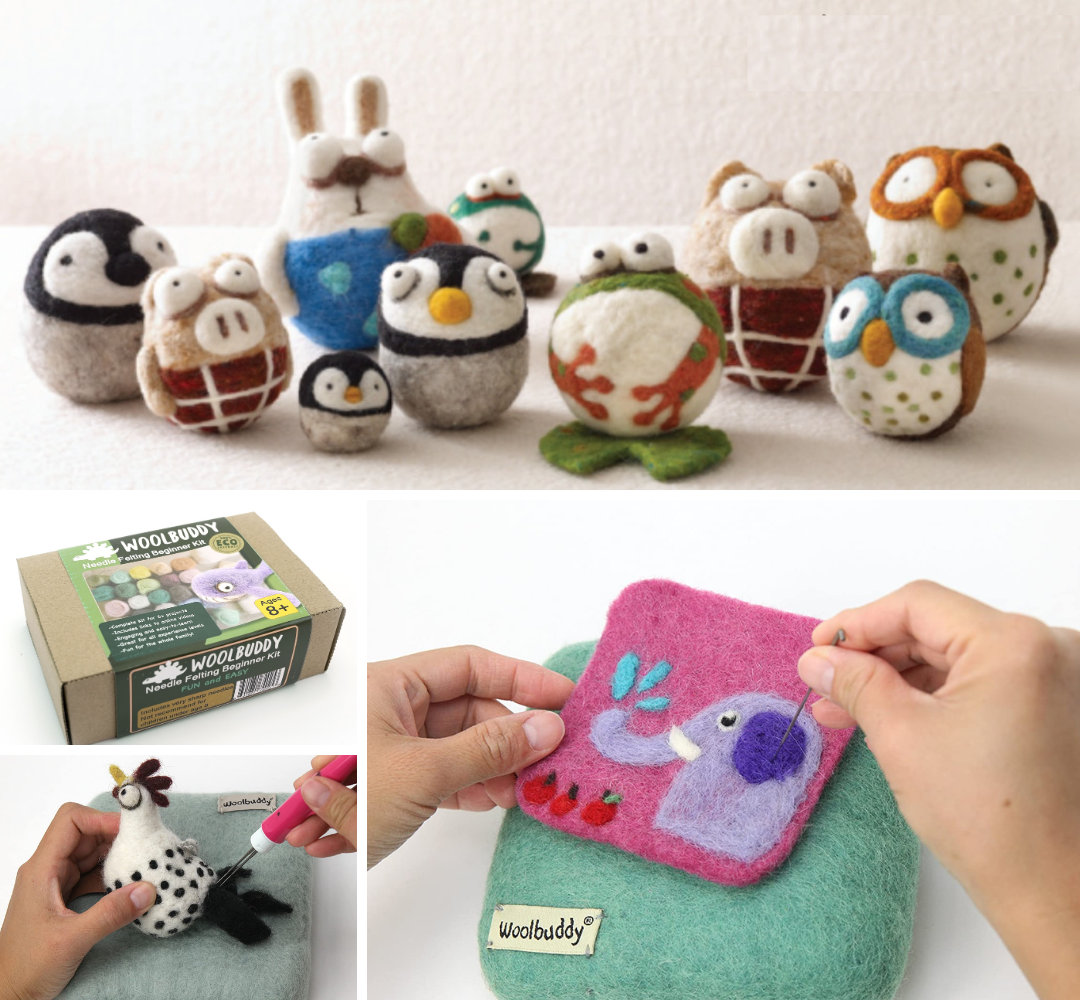
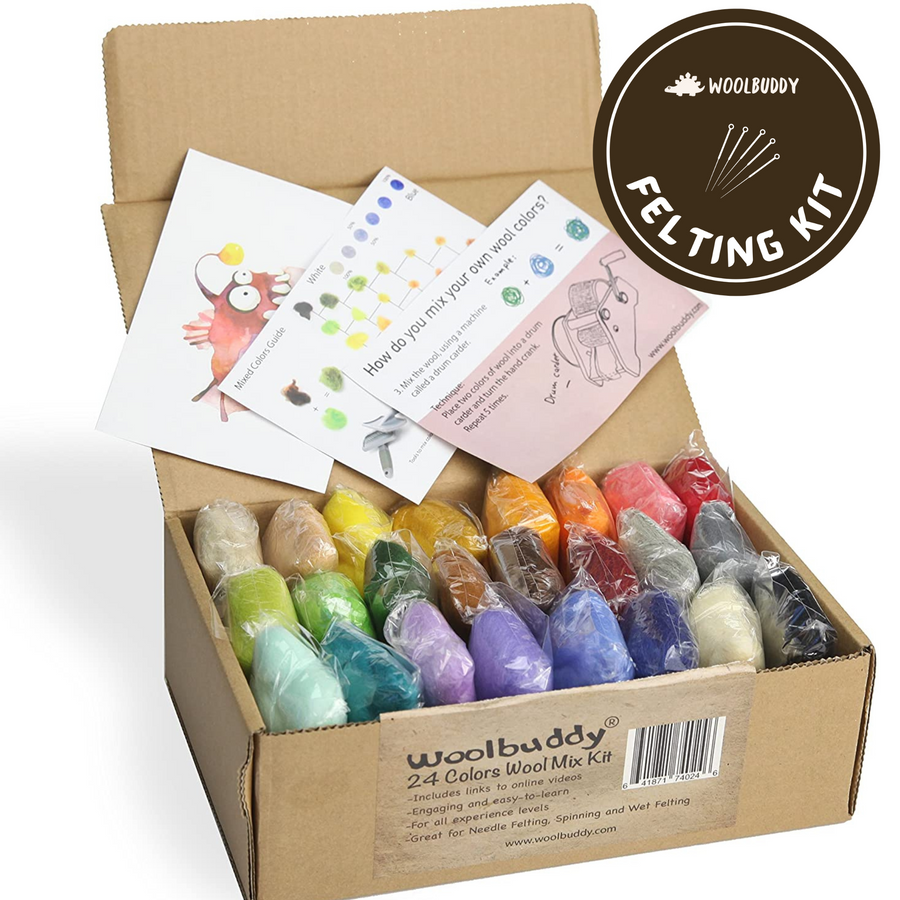
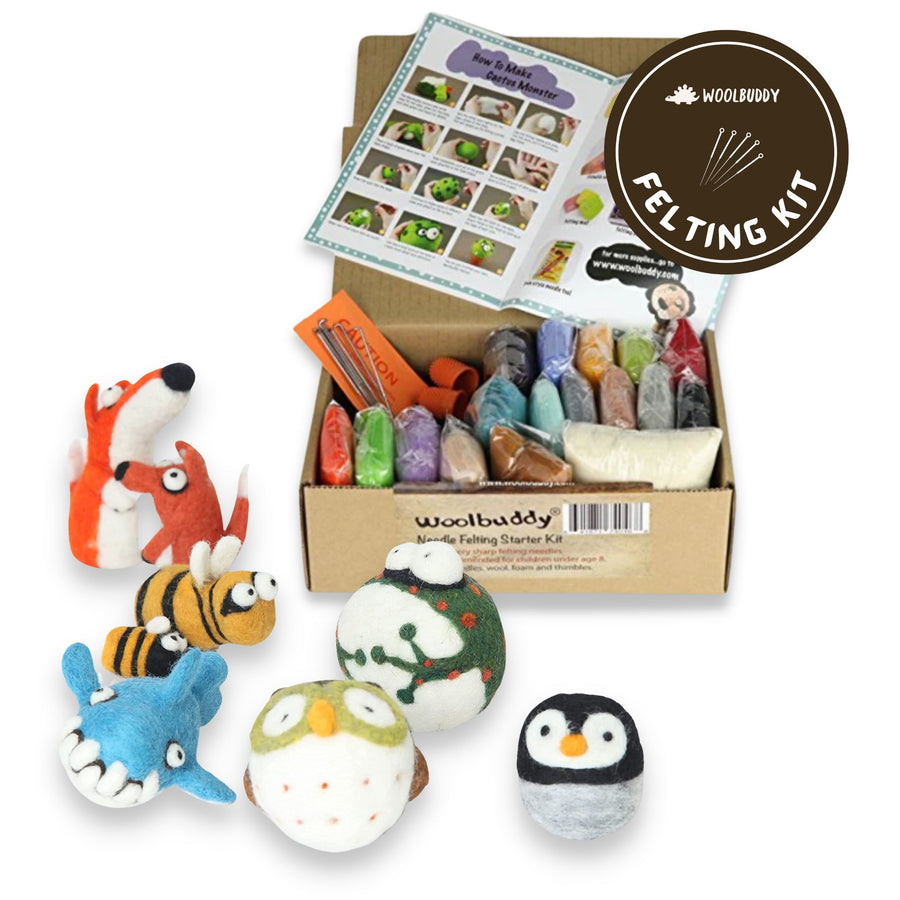
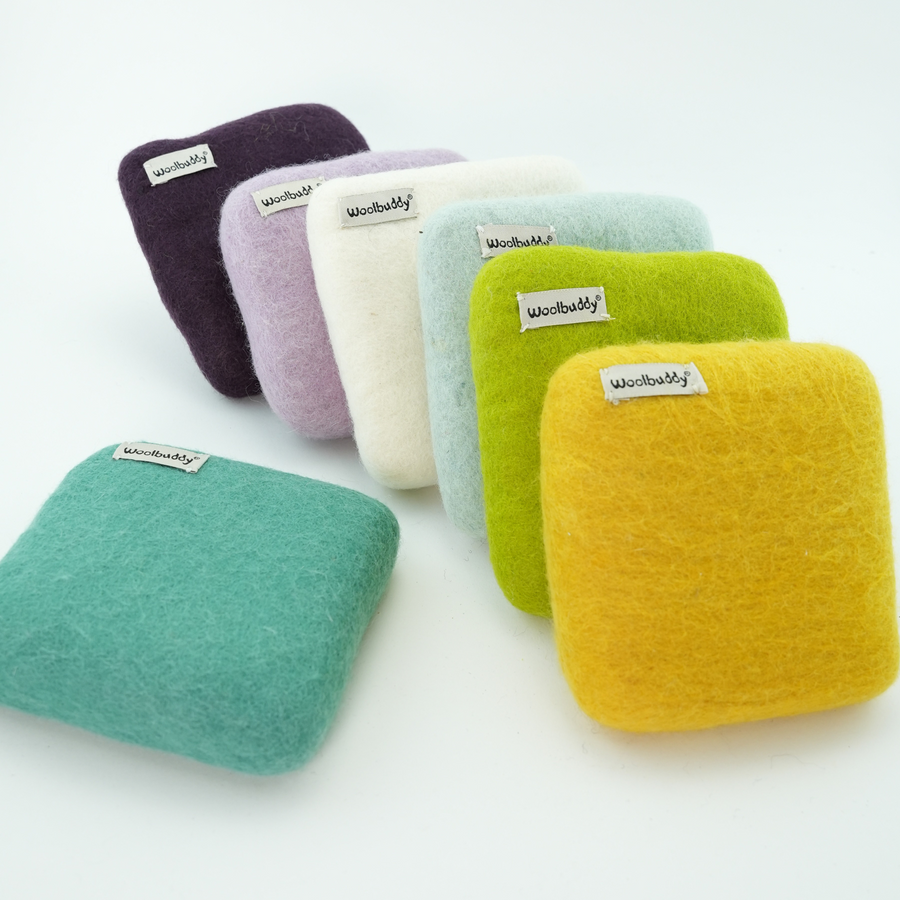
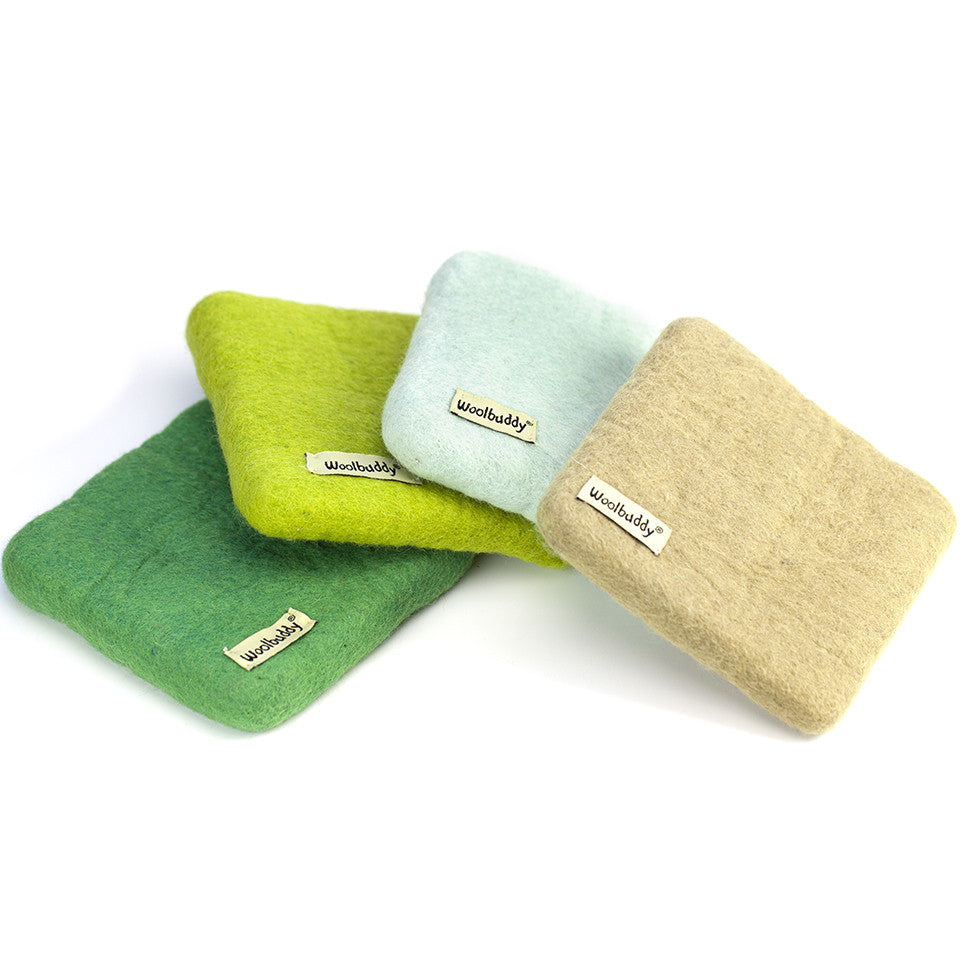
For all your felting needs, check out Woolbuddy. As a family-run business, Woolbuddy specializes in high-quality needle felting supplies, kits, wool, mats, and more. Whether you're a seasoned crafter or just starting your journey, Woolbuddy has everything you need to make your crafting projects unforgettable.
Let Woolbuddy help you bring warmth, creativity, and a touch of handmade joy to your holidays.


